Oracle WebLogic Server is one of the most popular Java EE application server. If you’re looking to develop an application that is designed to run on Oracle WebLogic Server, the best way to test your application would be to run it on your local PC.
Here is a step by step guide on how to configure Local Oracle WebLogic Server on Windows.
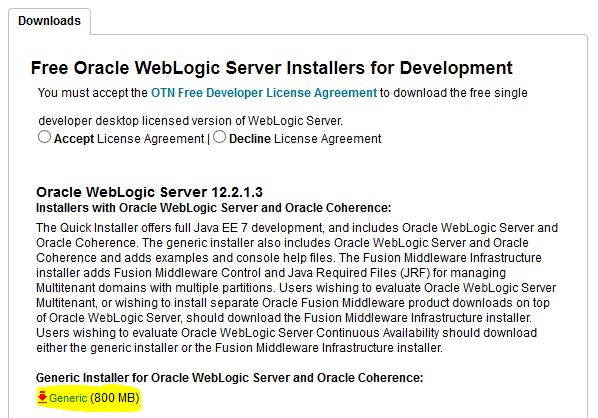
1. Download The Installer
The first thing that you need to do is download the installer from this link. Make sure you accept the License Agreement and then download the Generic installer.
2. Extract The Installer
Once the download of the installer is complete, extract the zip folder where you will find an executable jar file. The next thing that you need to do is run this jar to initiate the installation.

3. Starting With The Installation
To initiate the installation process, you need to open the Command Prompt in Administrator Mode. After that go to the path where the installation jar is present.
Before starting the installation process, you will need to setup some environment variables so that installation can start. Please note that Java JDK path may differ.
Run the below commands to get started with your installation.
set JAVA_HOME="C:\Program Files\Java\jdk1.8.0_31"
set PATH="C:\Program Files\Java\jdk1.8.0_31\bin"
java -jar fmw_12.2.1.3.0_wls.jar

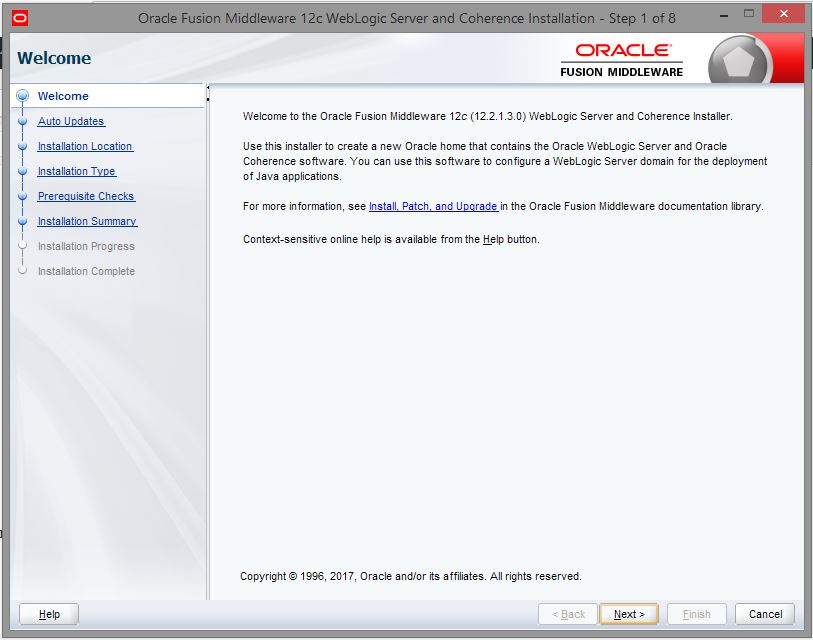
Once the extraction is complete, you will get an installation wizard like below.
In the Installation Location, select the directory where you want to install the server. By default, it will be “C:\Oracle\Middleware\Oracle_Home”
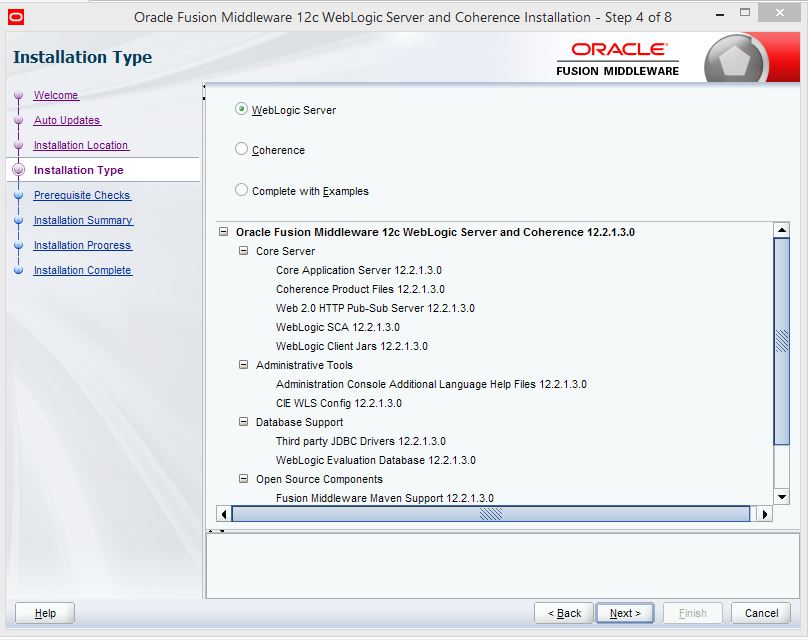
In Installation Type, select WebLogic Server.
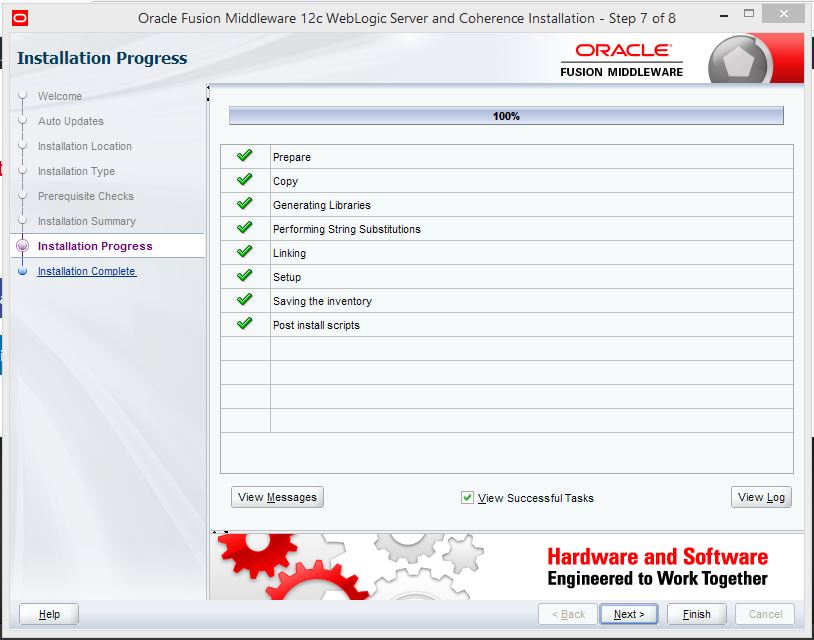
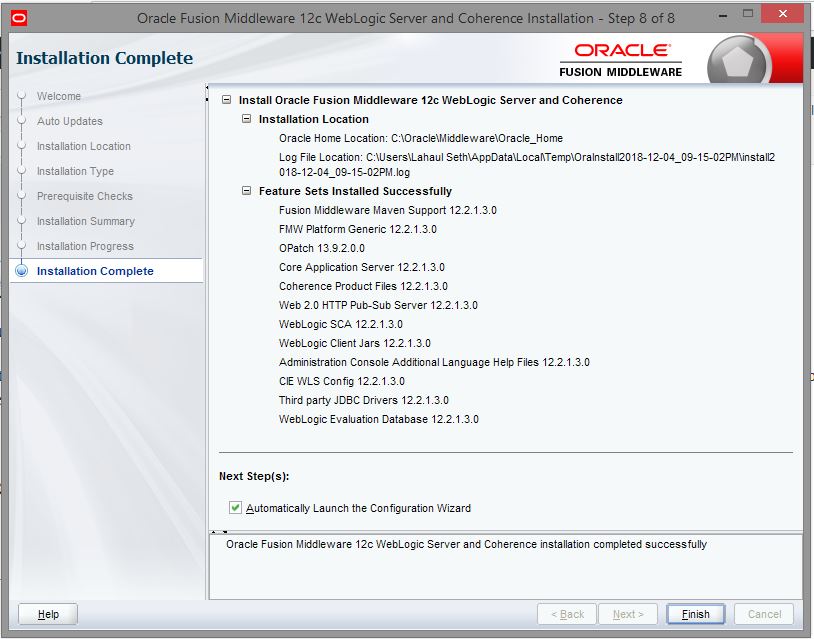
Once the above steps are completed, proceed with the installation. Once the installation is complete, you will get a display like below.
4. Configure The Oracle WebLogic Server
Once the installation is complete, you will need to go ahead the make the configurations based on which the server will run on your local PC. Clicking on Finish should take you to the Configuration Wizard.
If it doesn’t, then you will have to manually run the Configuration Wizard.
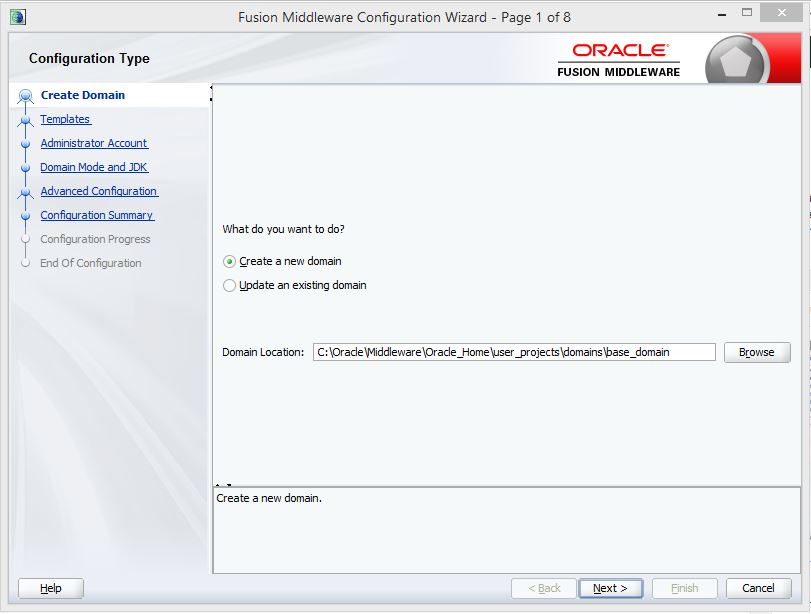
Go to this path – “C:\Oracle\Middleware\Oracle_Home\oracle_common\common\bin” (the base directory might differ based on the directory you have chosen during installation). Run the file “config.cmd” in Administrator Mode. You will get a wizard like below.
If it’s a fresh installation, then you will need to create a new domain. You can also update an existing domain from here.
In Templates, just go with a Basic Weblogic Server Domain.
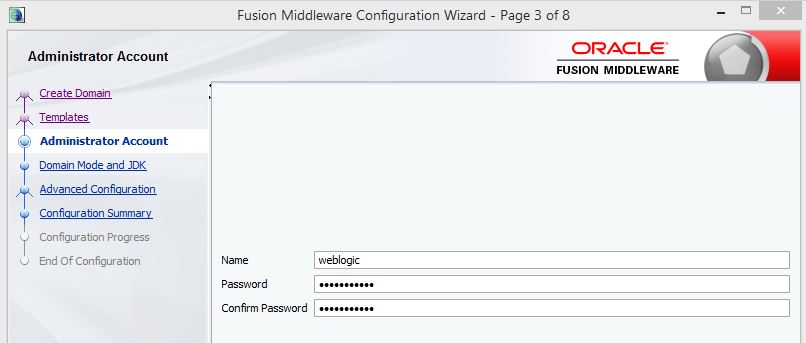
In Administrator Account, select the username and password that you want to use to login to the WebLogic console.
In Domain Mode and JDK, select either Production or Development depending upon the type of project. For JDK, you can give a different path, if you would like to use a different JDK other than the default one.
Next thing that you will need to do is Advanced Configuration.
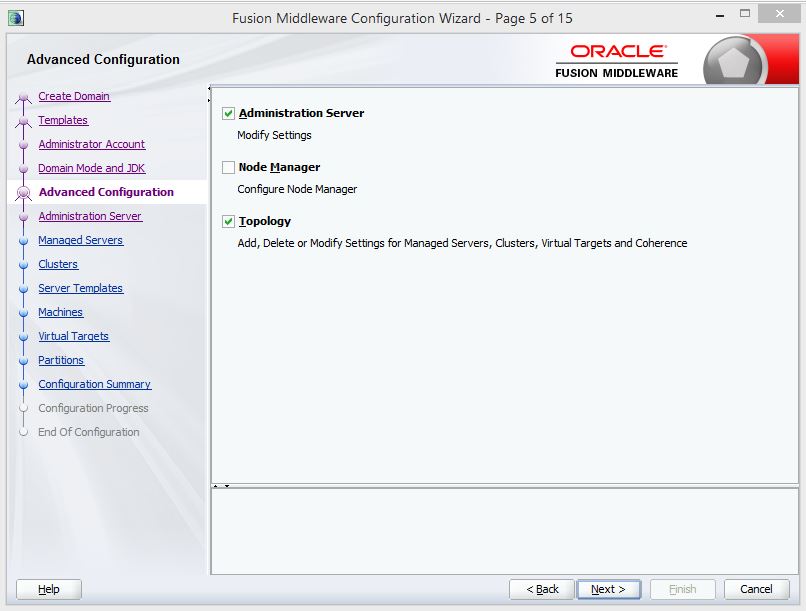
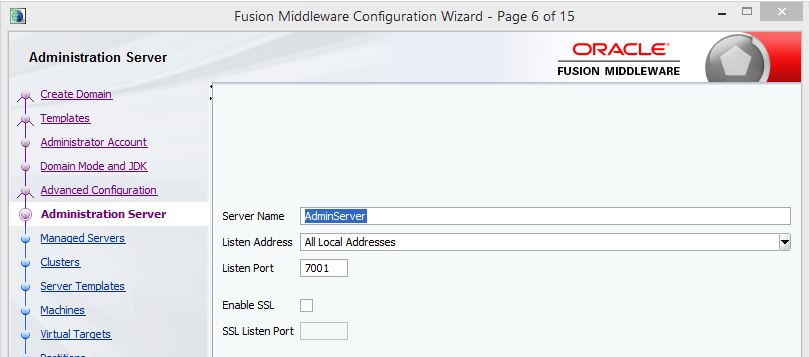
In Administration Server, select the port on which you want to run your Admin Server. Default port is 7001 and there’s no harm in leaving it as it is.
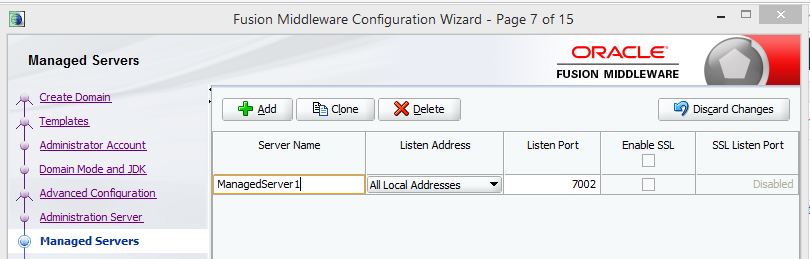
If you want to create a Managed Server, then you can do so in the very next step. Make sure the port is different from what you have given for the Admin Server.
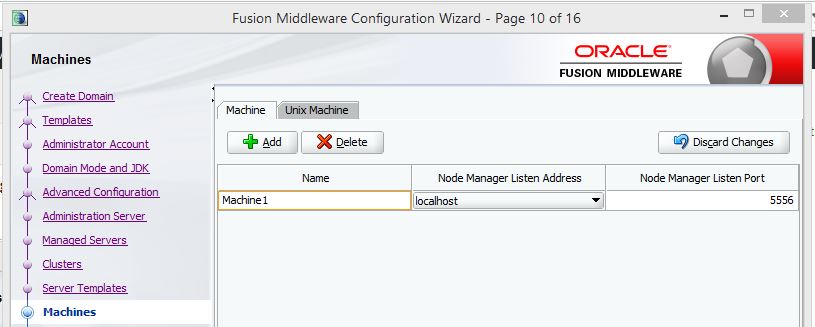
In Machines, create a new Machine so that you can run the Managed Server. Leave the port 5556 as it is.
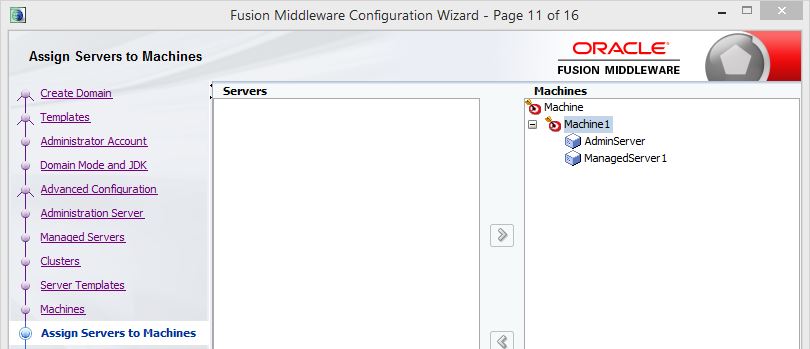
In the next step, assign both the Admin Server and the Managed Server to Machine1.
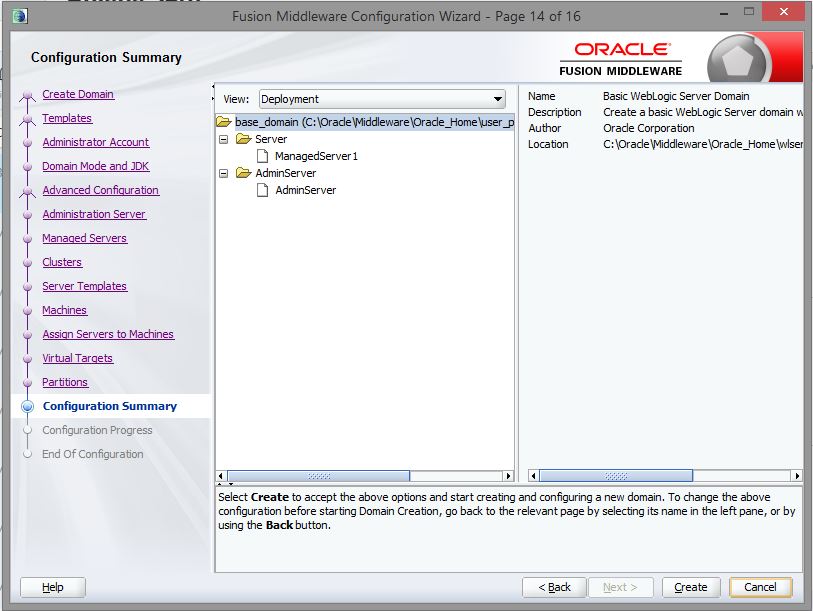
Leave the rest as it is and create the configuration.
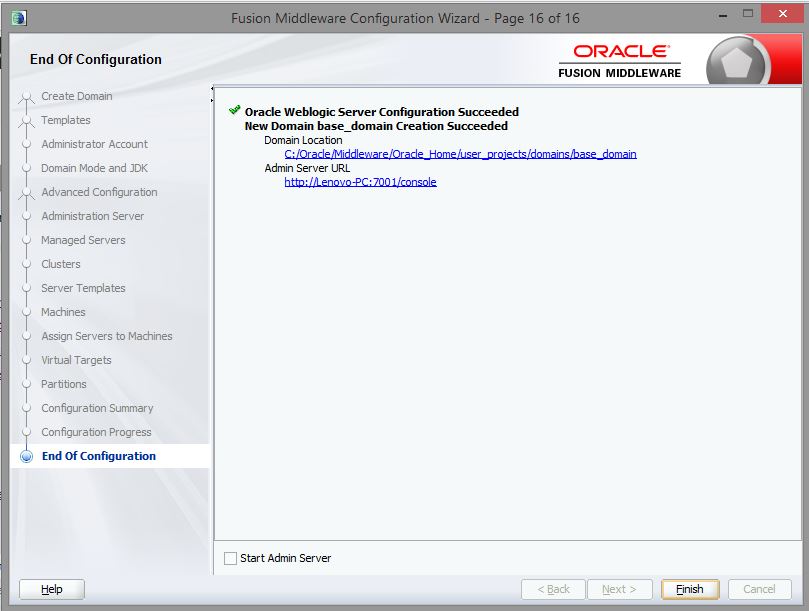
Once configuration is complete, you will get something like the below. You can ignore “Lenovo-PC”. That is just the name of the PC which the configuration wizard picks up. We will use “localhost” instead in the URL.
5. Starting The Admin Server
Before you can access the Weblogic Console, you will need to start the Admin Server. For this, you will need to execute “startWebLogic.cmd” in Administrator Mode from “C:\Oracle\Middleware\Oracle_Home\user_projects\domains\base_domain“.
Check the new Command Prompt that appears. Wait till it shows the server is in running state. After that, use the url http://localhost:7001/console to login to the console using the credentials which you had provided earlier.
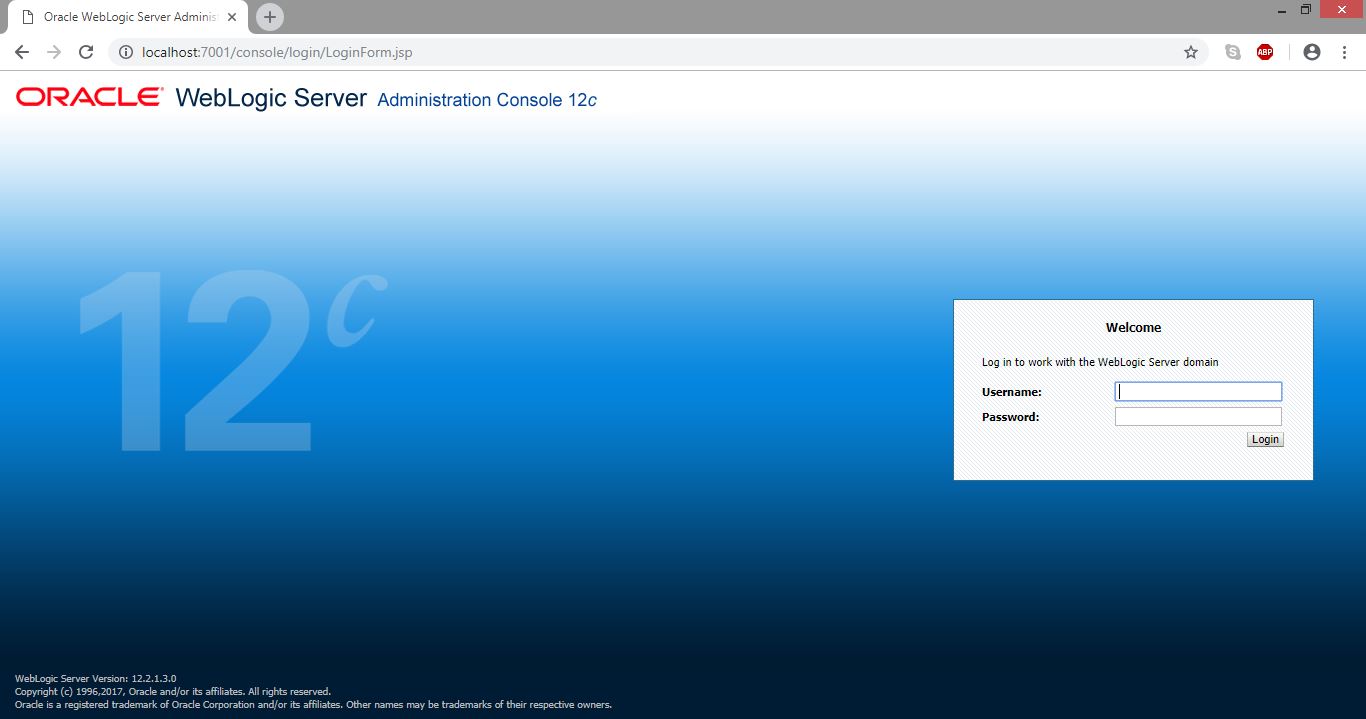
If you see a screen like below, it means that you have successfully logged in and also your Admin Server is properly setup.
6. Start The Managed Server
Now that the Admin Server is running fine, next thing that you need to do is start the ManagedServer1. If you go to Environment -> Servers, you will see that the ManagedServer1 will be in SHUTDOWN mode.
Before starting ManagedServer1, you will need to start the Node Manager. This is because without the Node Manager, ManagedServer1 will not be able to communicate with Machine1 which was created earlier. You will get an error like below.
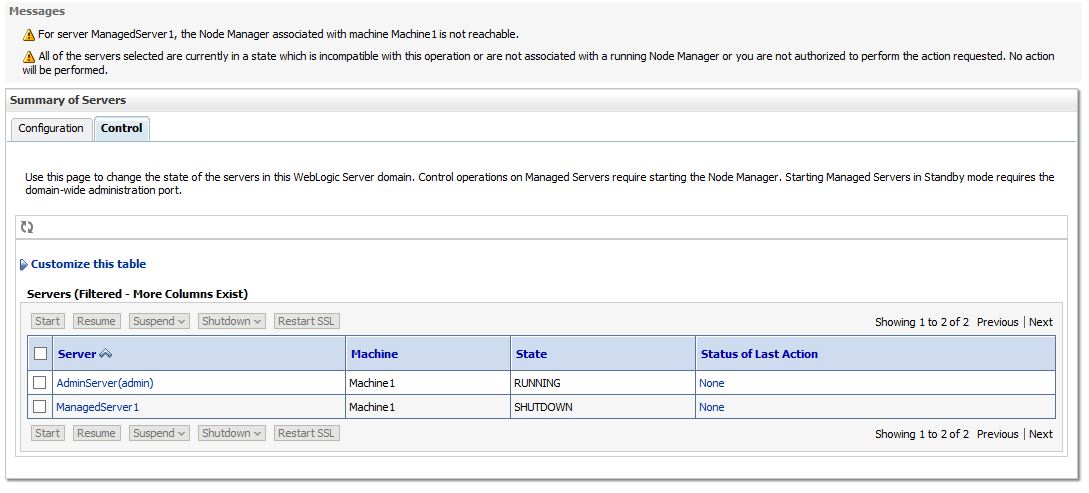
To start the Node Manager, run the “startNodeManager.cmd” in Administrator Mode from “C:\Oracle\Middleware\Oracle_Home\user_projects\domains\base_domain\bin“.
Once the Node Manager is up and running, start the Managed Server. To start the Managed Server, go to the “Control” tab right next to “Configuration”. Select the Managed Server and click on Start.
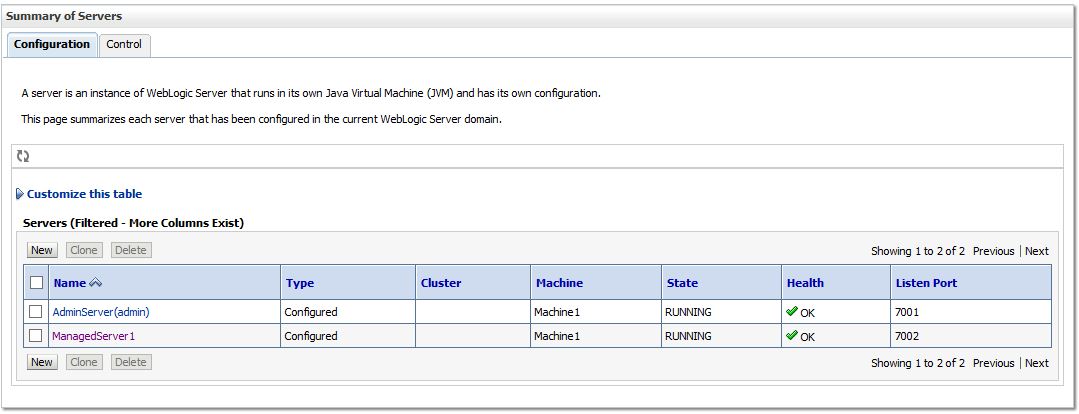
Once the Managed Server is up and running, it will look something like this.
After the Managed Server is up and running your Local Oracle WebLogic Server is fully functional. You can then deploy your code on the ManagedServer1 and do as much testing as you want.
So, that’s it for today’s tutorial. Stay tuned for more.
If you’re already using WebLogic, you’re welcome to share your views in the comment section below.
