Migrating your WordPress blog from HTTP to HTTPS basically means installing a SSL certificate and redirecting your HTTP traffic to your HTTPS URLs. Below are the simple steps with which you can get it done.
1. Install A SSL Certificate
The first step that you need to do is obtain a SSL certificate. You have 2 options here – buy one from a Certifying Authority like Comodo, Symantec, GoDaddy etc. or get a free one from Let’s Encrypt. If you don’t know what Let’s Encrypt is – it’s a Certificate Authority founded in 2016 which provides free SSL certificates. The only downside is the certificate needs to be renewed every 90 days. To prevent manual renewal activities, Let’s Encrypt has tied up with multiple web hosts like Bluehost, WP Engine through which they provide auto renewal. If you’re looking to create new a WordPress blog, you can check out the steps here.
For Lion Blogger, I use WebHostingHub. I’ve been with them for almost 6 years now. I’ve never faced any major issues which is why I have not moved to any other host. WebHostingHub provides a free SSL for all the blogs you hosts with them. The only criteria is that the domain needs to be either registered or pointed towards WebHostingHub.
If you already have your blog hosted on WebHostingHub, then you can login to the AMP and enable the SSL from “Manage Free Basic SSL”.

2. Install Really Simple SSL
Really Simple SSL is a very simple WordPress plugin which takes care of the SSL configuration for you. Basically, it checks whether you have a valid SSL certificate installed and makes the required changes in your WordPress Dashboard area. You will also need to setup 301 redirect from HTTP to HTTPS. This is the most important aspect when it comes to SEO.
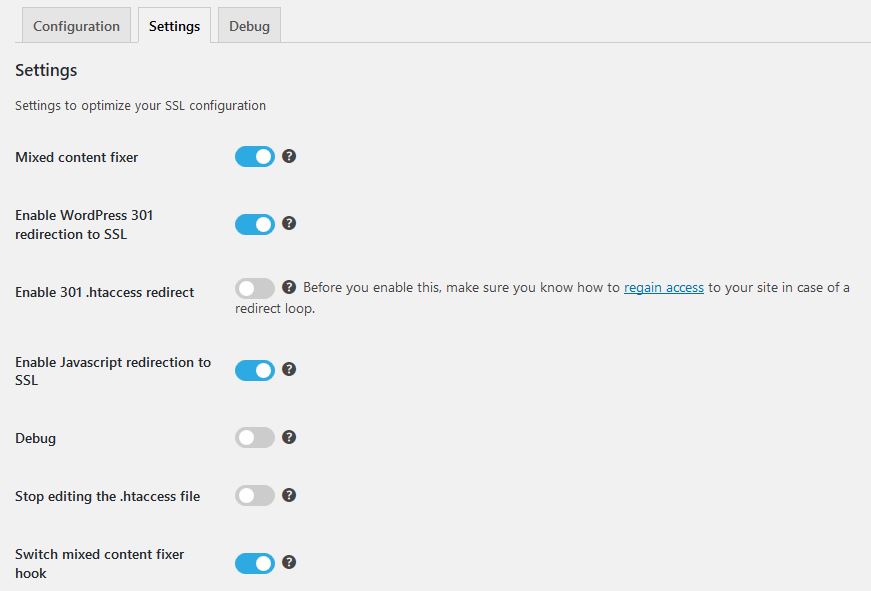
Here’s the current settings that I have kept.
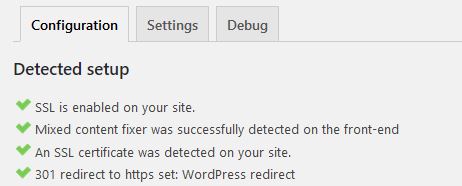
If the configurations are correct, then you will get something like the below.
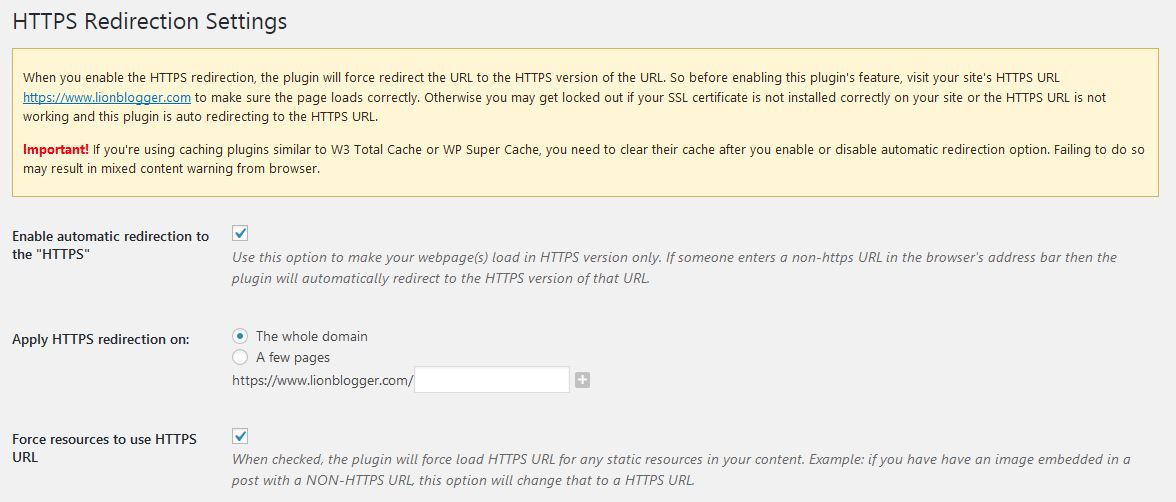
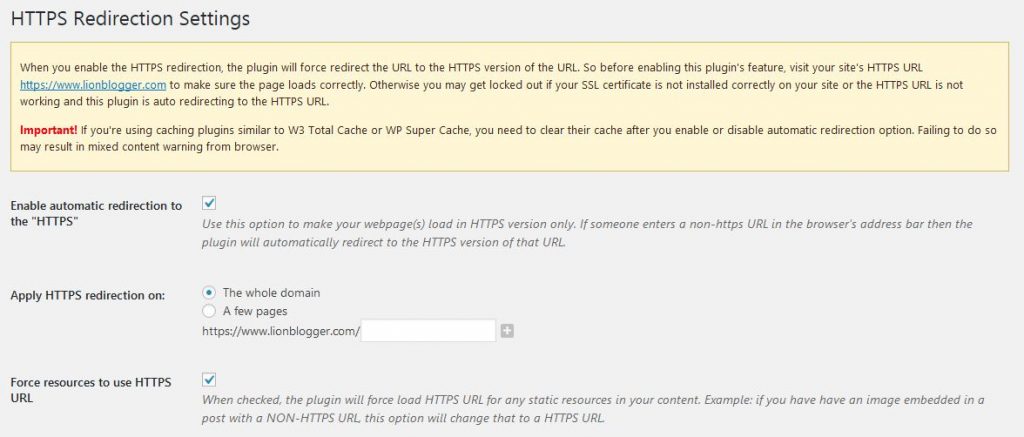
Alternatively, you can also use Easy HTTPS Redirection. This enables HTTPS redirection for your whole domain including your WordPress Admin area.
For testing, you can check whether your urls redirect from the HTTP to HTTPS version.
3. Install Better Search Replace
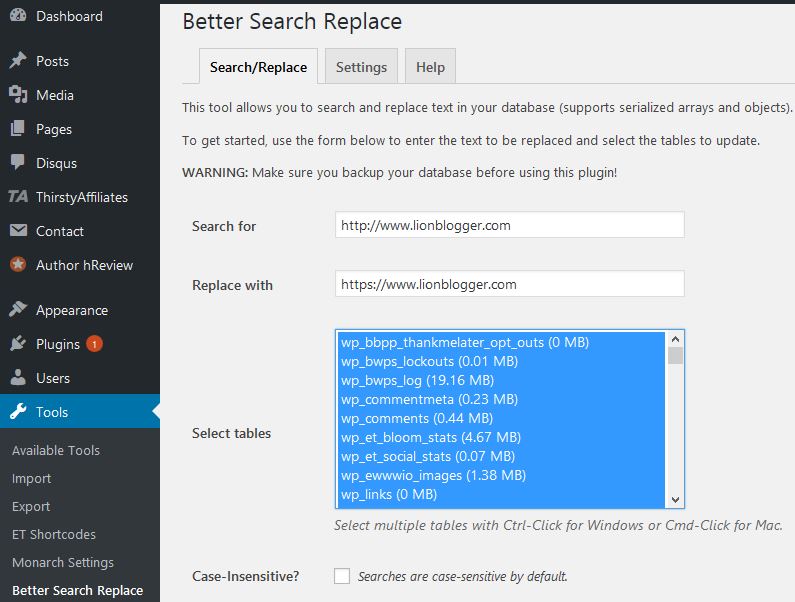
Better Search Replace is yet another WordPress plugin which can be used to do a simple find and replace. In this case, you need to search specifically for your blog’s HTTP links and replace them with new HTTPS link. Make sure you have a backup for your database before going through with this step.
Once you’re done with these steps, your WordPress blog will now be fully secured with SSL.
4. Submit New Sitemap To Google Webmasters Tools
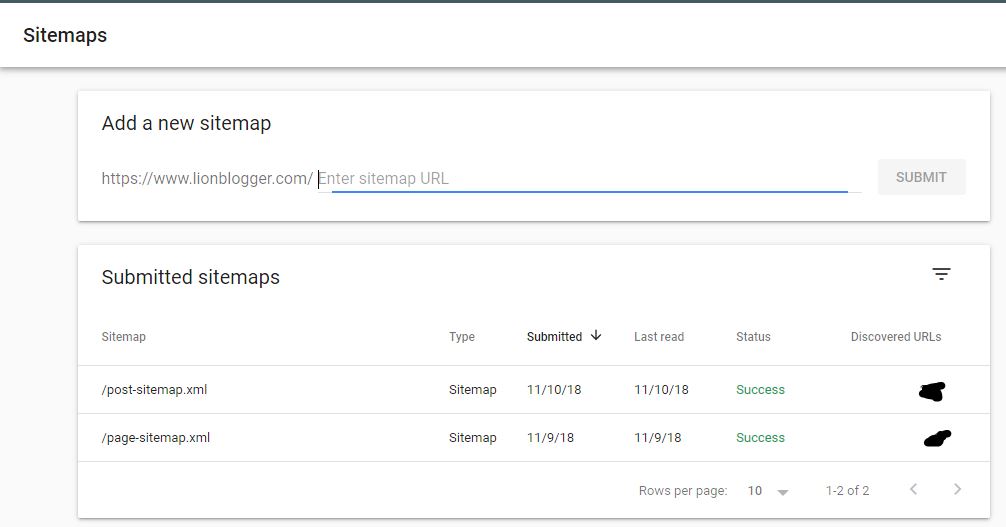
Once all the configurations are done, you will need to generate a new sitemap with all the HTTPS url. You will then need to add this in Google Webmaster Tools. Create a new property under the Search Console with your new SSL url and submit the sitemap.
After this you will have to wait for Google to crawl and index all the new URLs. Ideally Google transfers all the search rankings of your HTTP urls to the HTTPS urls However, this takes time from a few weeks to months depending on the size of the website.
Once all the steps are done, your WordPress blog will be fully migrated from HTTP to HTTPS.
Already done with the migration ? Share your views in the comment section below.


