
Core Web Vitals officially became a part of Google’s ranking signal from July 2021. Google has already rolled out the changes and if you’re yet to address them check out the below steps.
You can fix core web vitals issue in WordPress with few plugins and CSS tricks and improve SEO for your site.
1. Use a WordPress Caching Plugin
Using a good caching plugin is one of the key to making your WordPress blog faster. There are quite a few options that you can choose from. WP Total Cache & WP Super Cache are some of the best free options.
If you have the budget for a premium plugin, I recommend going with WP Rocket. It covers almost every configuration in a single plugin.
Core web vitals is mainly guided by how CSS and JavaScript loads on your website. Most plugins have common functionalities when it comes to handling CSS and JavaScript.
Some of the optimisations include –
- Minification which removes whitespace and comments to reduce file size
- Combining the files help in making a single request each for CSS & JavaScript. Lower the no. of requests faster your site loads. However, this is not recommended if your site is using HTTP/2
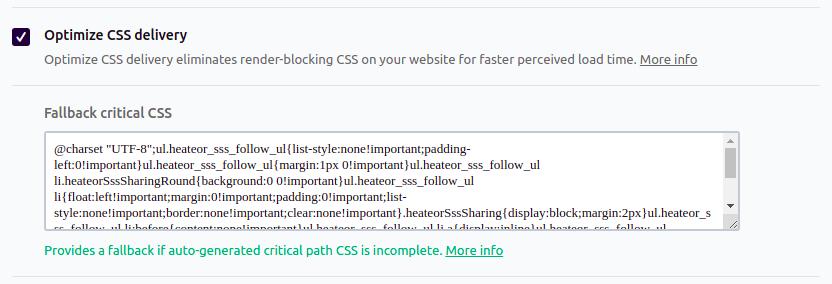
- Optimising CSS delivery eliminates render-blocking CSS which improves the paint time for your site.
- Remove unused CSS to reduce HTTP requests.
- Deferring and delaying JavaScript execution.
Out of the above, optimising CSS delivery could cause CLS issue. This needs to be investigated on a case by case basis depending on the theme you are using. Easiest way to mitigate it is to turn it off.
Deferring and delaying JavaScript execution can also cause issues with some plugins. Such an issue also needs to be investigated on a case by case basis. However, most of the mainstream WordPress plugins generally don’t encounter any issues.
If you’re looking for a free plugin to optimise CSS and JavaScript, then Autoptimize is a good choice.
2. Generate Critical CSS
You can generate a Critical CSS for your site using a Critical CSS Generator. Once CSS is generated, add it in the fallback CSS area in WP Rocket. This is to ensure that there is a Critical CSS available in case the automatic CSS is incomplete.
2. Compress and lazy load images
With WordPress 5.8 set to support WebP images, it should be easier to serve compressed images easily. WP Rocket supports lazy loading of images, but it doesn’t support image compression. It does support WebP caching.
Smush is one of the best plugins that you can use for images. You can compress and lazy load images with a single plugin.
3. Preloading Featured Images
Featured images for a blog post is often the bigget image on the page. Hence, preloading it makes sense to avoid LCP issues.
There’s already a plugin available which helps in preloading featured images. Make sure to select the correct size that should be viewed on the single post page.
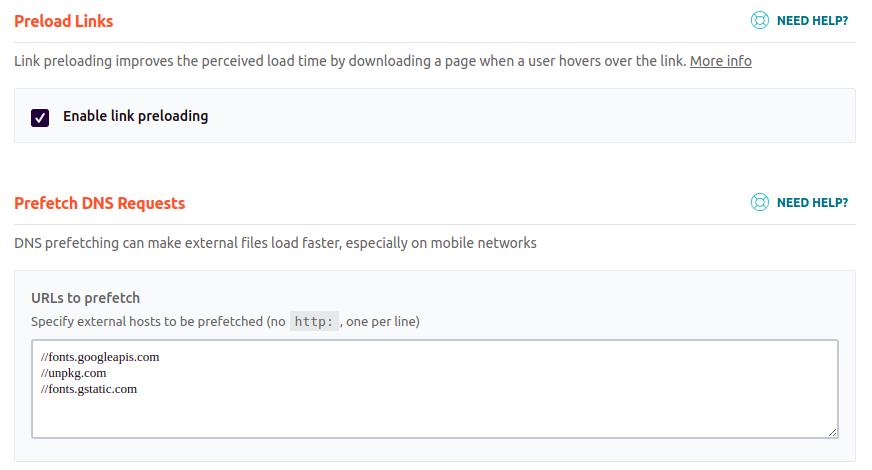
4. Preload Fonts, Links & Prefetch DNS Requests
Preloading fonts helps in faster load time. Hosting your fonts locally is always a good idea to reduce eternal HTTP requests.
Link preloading helps in downloading a page when an user hovers over a link.
Prefetching DNS requests helps in loading external sites faster on mobile networks.
All of these features are available on WP Rocket.
5. Enable Page Cache in Cloudflare
Cloudflare has a free CDN plan that you can use to speed up your site. Easiest way to enable it is to use a WordPress Plugin for Cloudflare Page Cache.
Once you enable the page cache, the plugin creates a rule in Cloudflare to cache all of your site’s resources.
Here’s how the rule looks like.

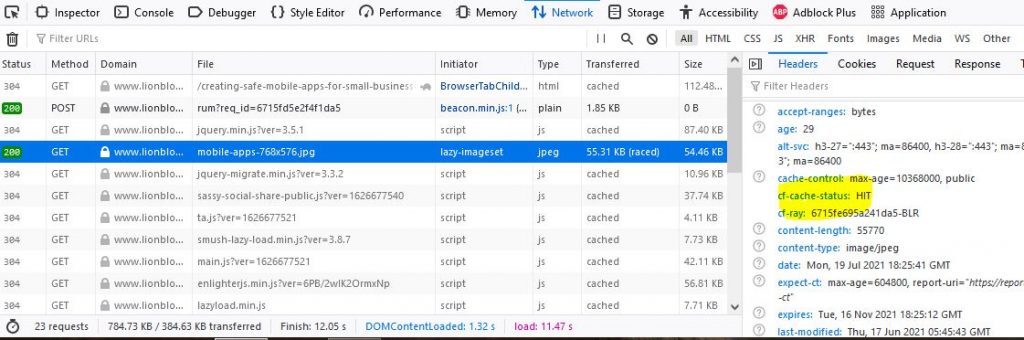
To confirm if Cloudflare Page Cache is working, check for cf-cache-status in the header. If it shows HIT, then the resource has been served from the Cloudflare cache.
6. Hiding featured images on mobile screens
When it comes to mobile screens fewer the images you have, the better. In my case, I used simple CSS to hide the featured image on mobile screen. This helped in avoiding the LCP issue.
Below is the CSS I used.
@media(max-width:720px) {
  <<CSS_CLASS_FOR_YOUR_IMAGE_CONTAINER>> {
    display: none;
   }
}
You can change the width depending on the mobile screen where you don’t want to display the featured image.
Once you’ve followed all the above steps your site’s core web vitals should be much better than before.
That’s all for this article. Thank you for reading and happy blogging.
