If you’re looking to create your own logo for your blog or business, then DesignEvo is one of the best choices for you. It’s an online logo maker which includes both free and premium plans. One of the best things about DesignEvo is you do not need to install anything on your PC. Everything happens online in your browser. Once you are happy with the logo you have created, just download it and upload it to your site.
Here are the steps to create a logo on DesignEvo
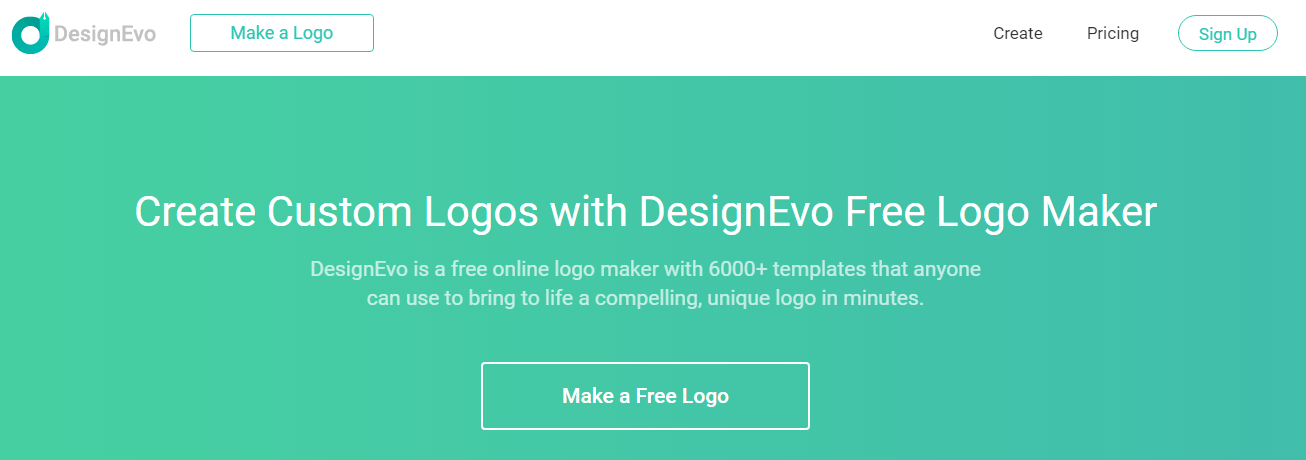
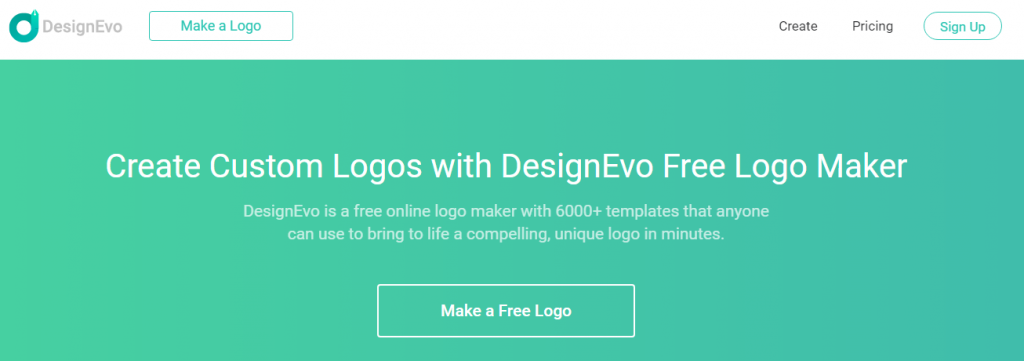
1. Go to DesignEvo and click on ‘Make A Logo’
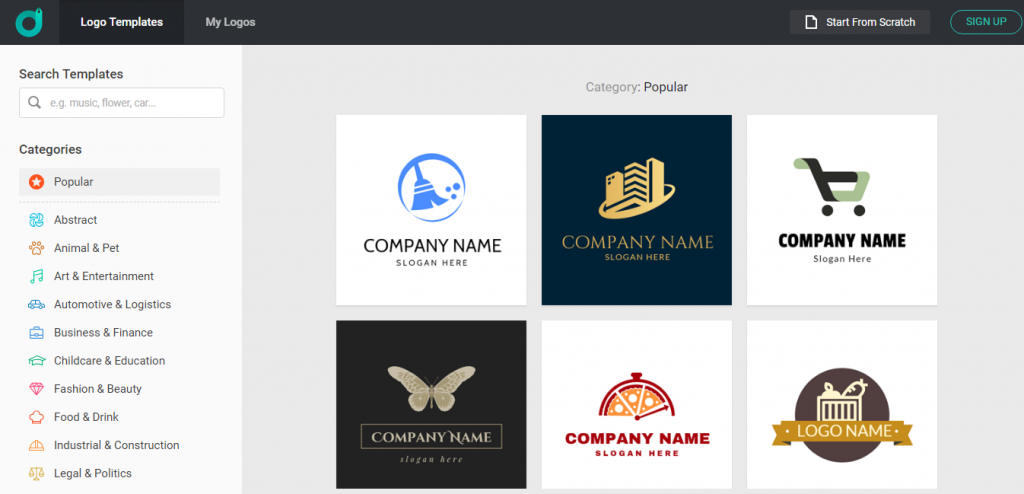
2. Choose A Template
Once you’re on the logo maker page, you will find hundreds of pre-made templates of different categories. Once you have found the template to your liking, you can go ahead and create the logo.
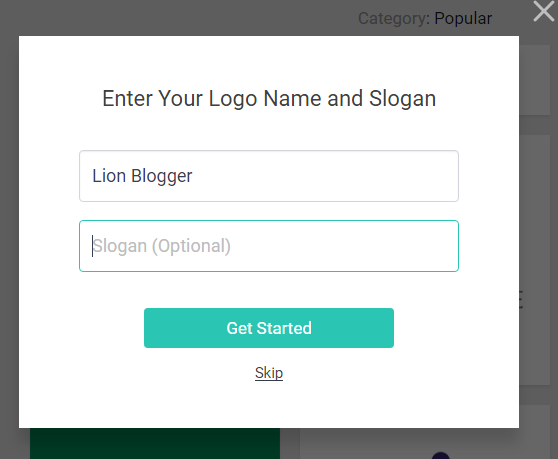
When you select a template you will be asked to provide the logo name and the slogan. You can of course skip them if you want and add the details in logo build page.
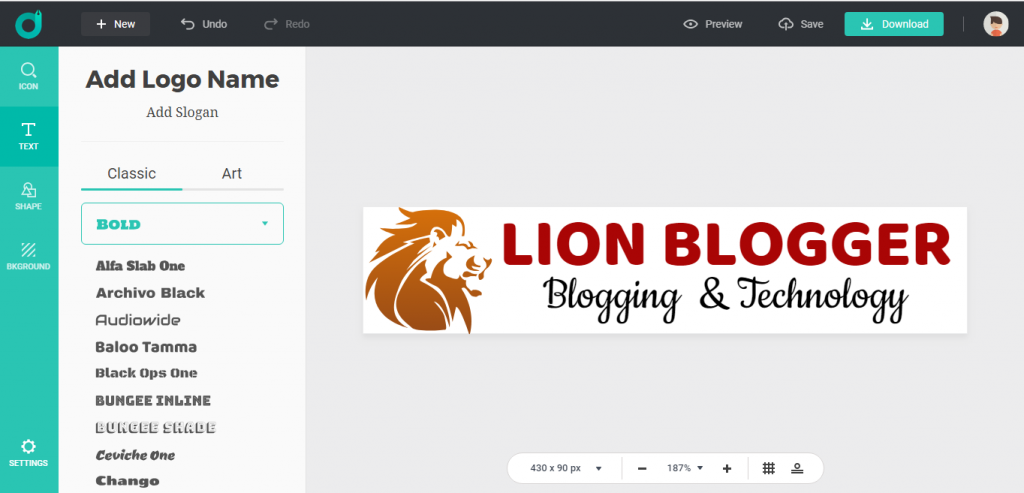
3. Build Your Logo
Once you’re in the logo build page, you have the option of choosing from multiple fonts, shapes and icons for your logo.
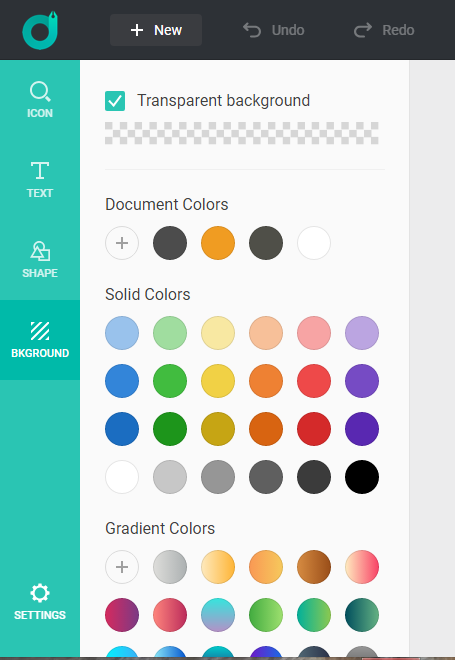
4. Choose A Background
Once you’re done creating a logo, you can select any background of your choice. You also have the option of choosing a transparent background which most tend to prefer.
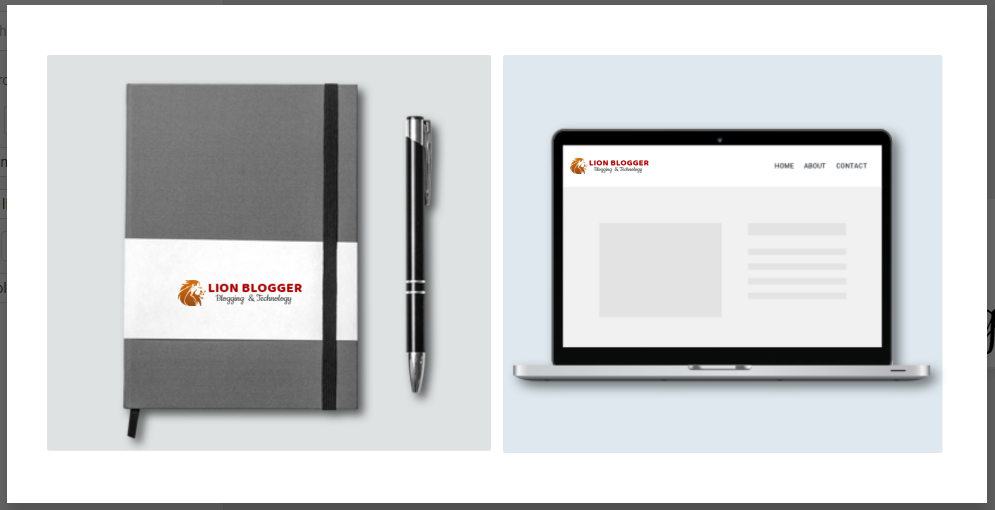
Once you are done creating your logo, you also have the option of previewing your logo to see how it looks.
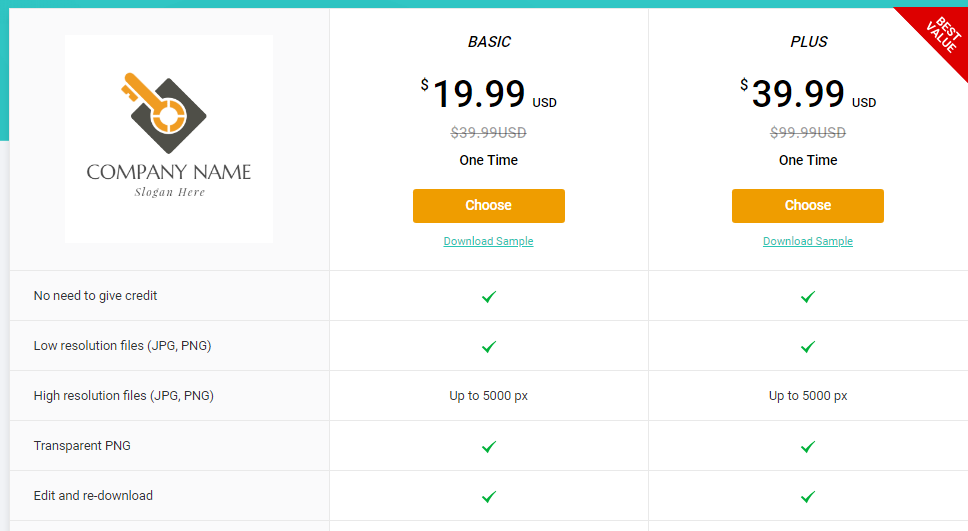
5. Download Your Logo
Once you have selected your background, your logo is ready for download. You can either download a low resolution logo for free or make a payment to download a high resolution one.
Once you have downloaded your logo, you can upload it to your site. The current logo that you see on Lion Blogger has been created with DesignEvo.
You can also check out the tutorial video below.
If you have already used DesignEvo, you can share your views in the comment section.
If you’re looking to create a poster or flyer, then do check out DesignCap.